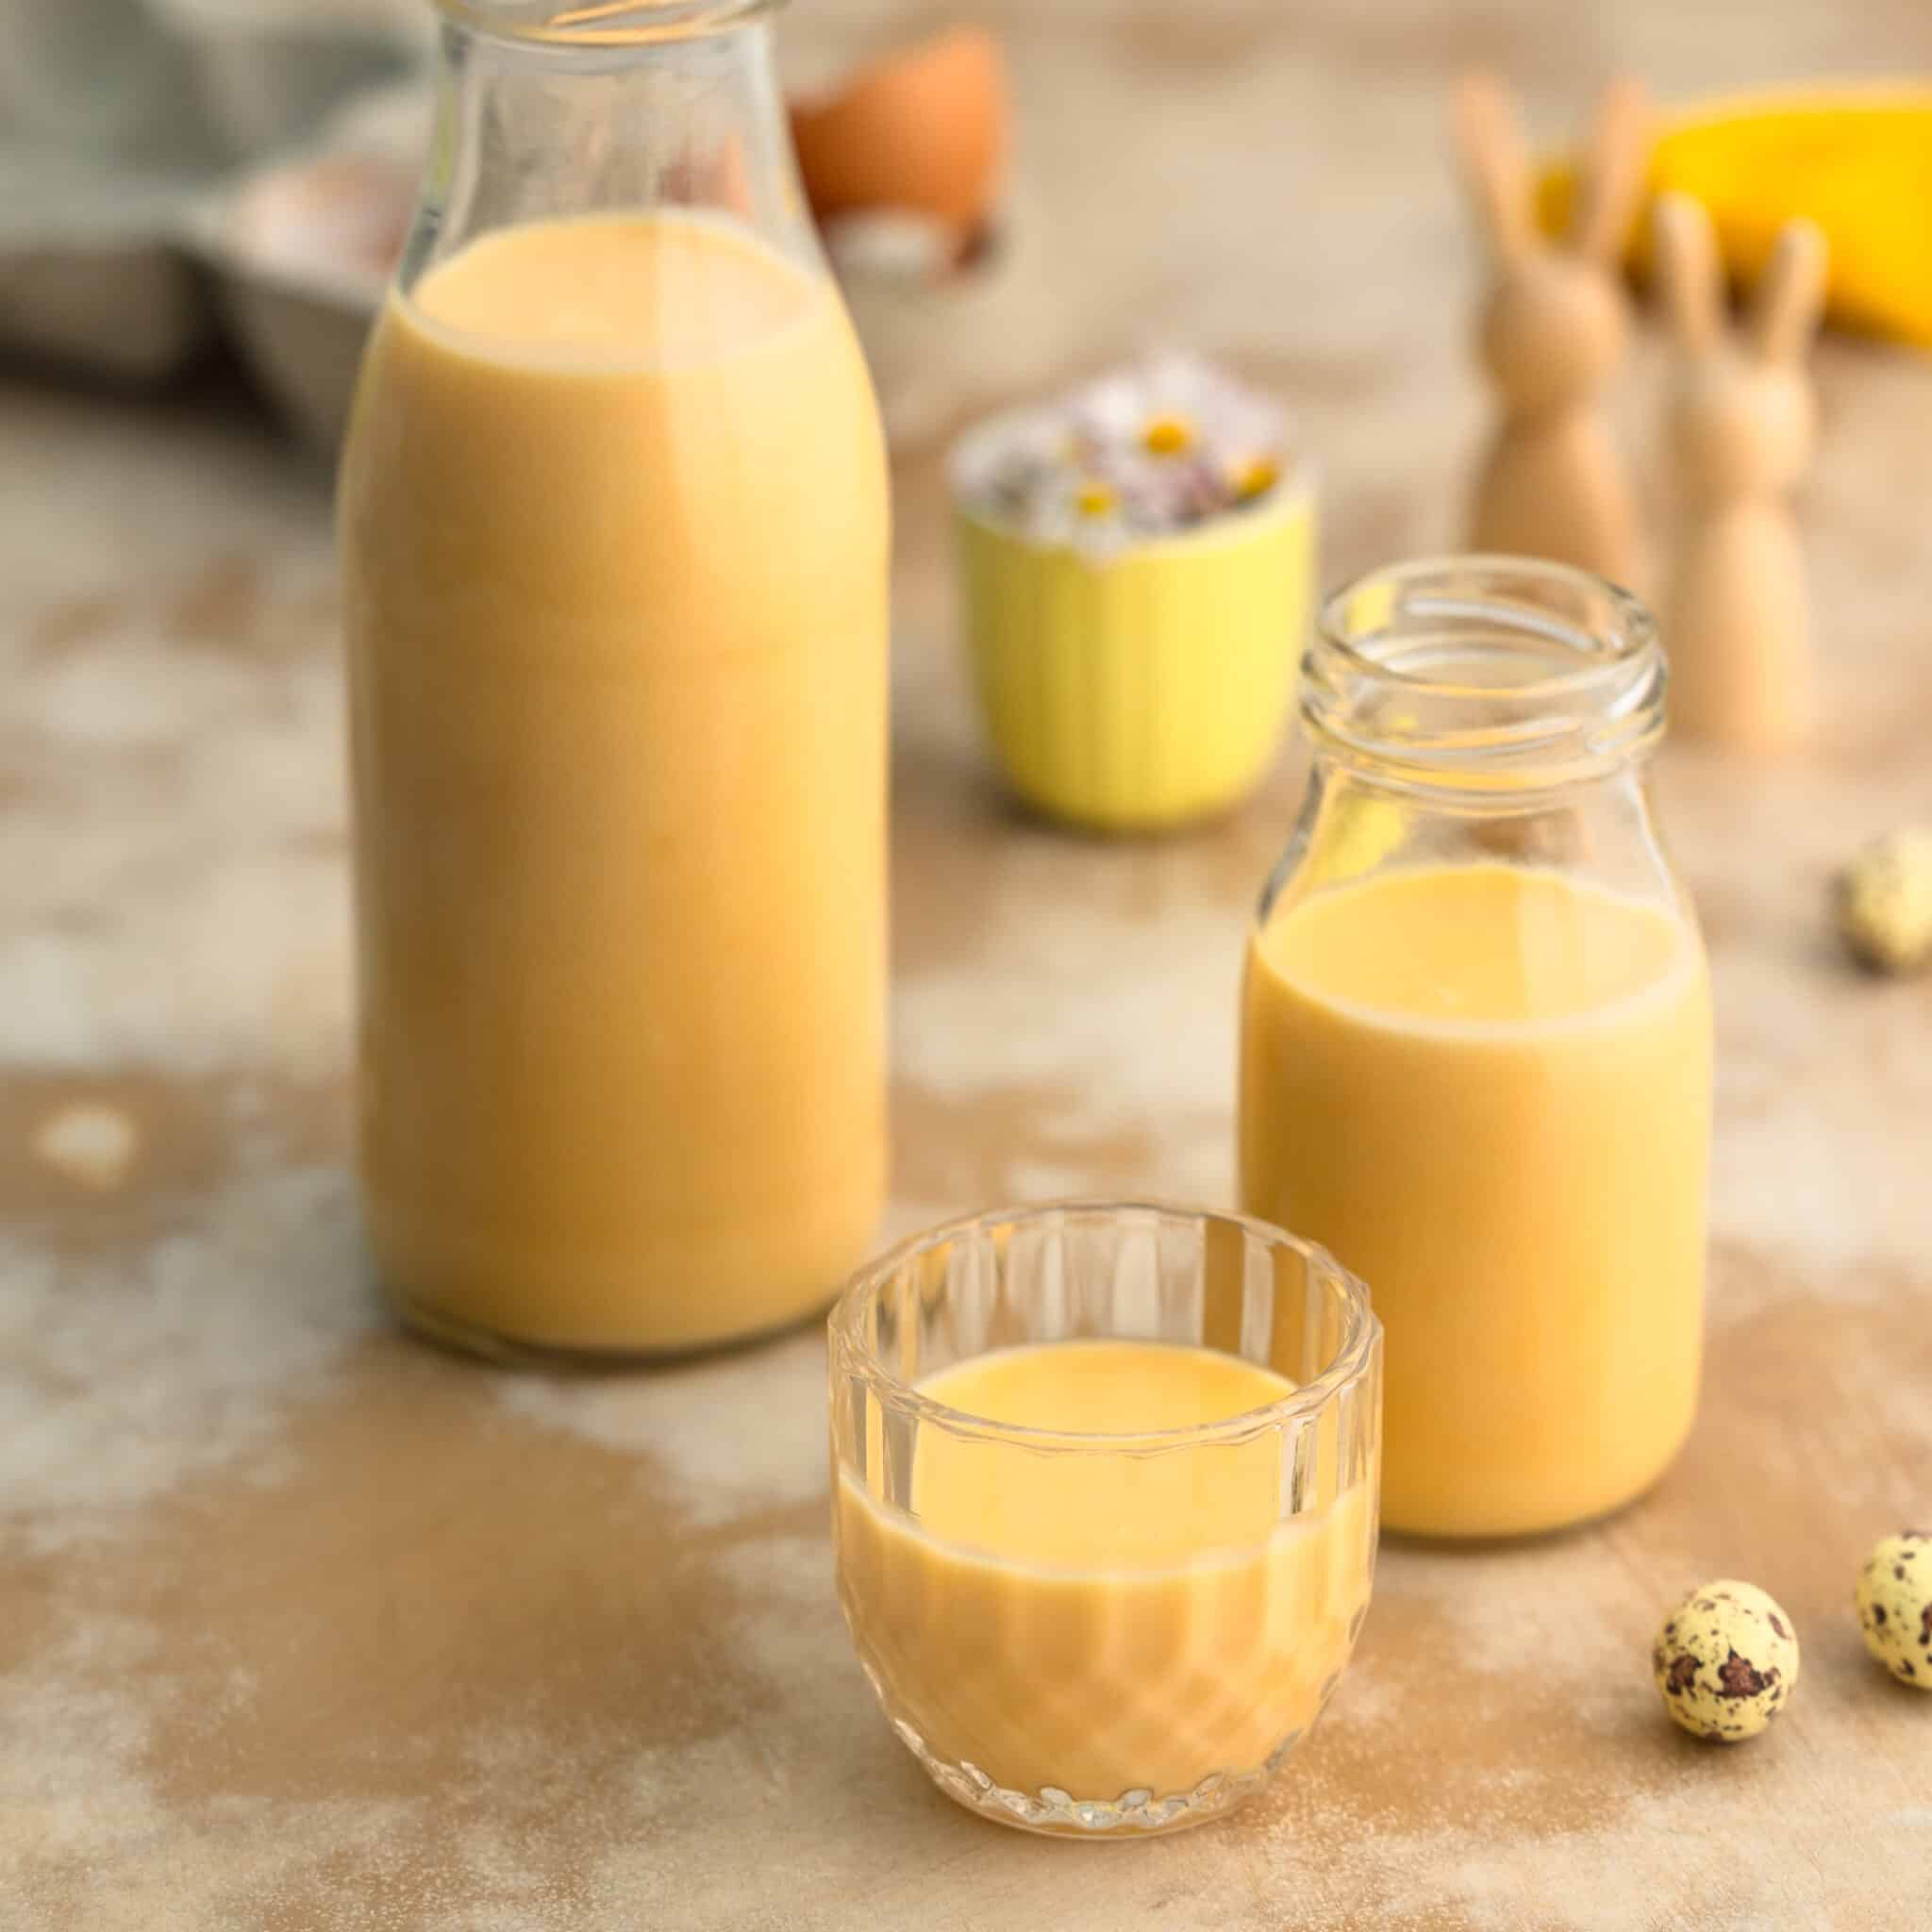
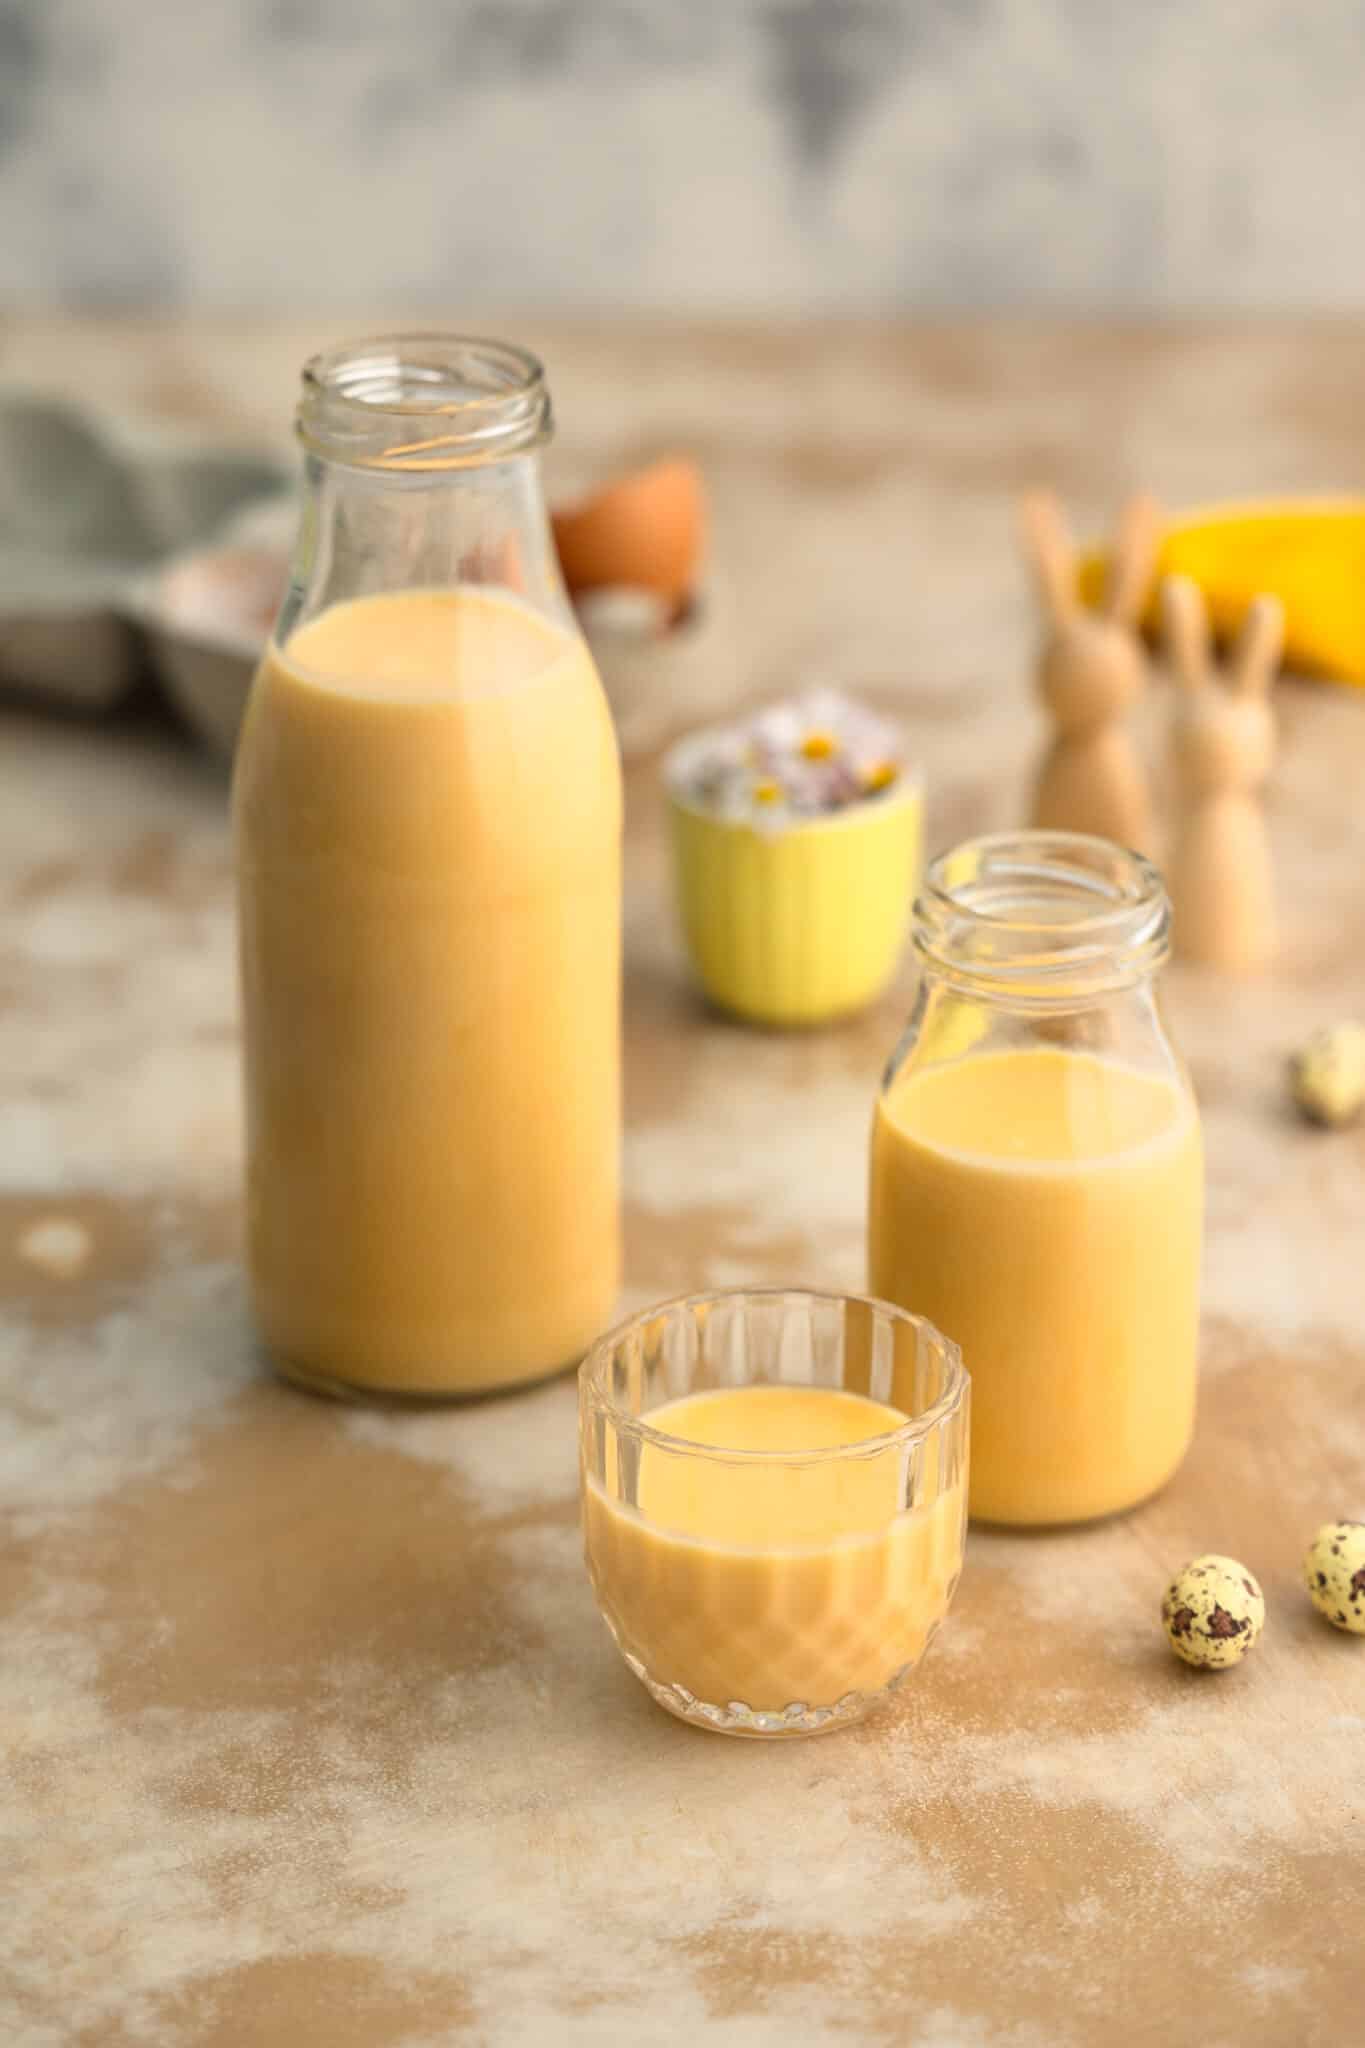
Who would have thought that eggnog could taste so amazing? I always assumed I would only enjoy it as a baking ingredient. But homemade eggnog is truly delicious—especially when you make it yourself instead of buying it at the supermarket! 😊
Why Homemade Eggnog is Better
First, there’s something incredibly satisfying about creating a creamy, rich, and irresistibly delicious liqueur in just 15 minutes. It reminds me a little of the Italian dessert Zabaione. One of the best things about making it yourself is that you know exactly what’s in it. Store-bought eggnog, like all spirits, doesn’t require an ingredient list. The only thing you usually see on the label is that it’s made with eggs from caged hens. With my easy homemade eggnog recipe, you can use free-range eggs and adjust the sweetness to your preference. The type of alcohol you choose also influences the flavor—some options will create a stronger, others a milder taste. Plus, you can easily add flavors like vanilla. Since we don’t typically drink alcohol, my homemade eggnog will mainly be used as a baking ingredient. It’s fantastic in eggnog muffins or grandma’s moist eggnog cake!
Ingredients & Variations
There are a few essential ingredients that make up a classic eggnog recipe—eggs, for example! 😉 But beyond that, you can easily tweak the recipe to suit your taste.

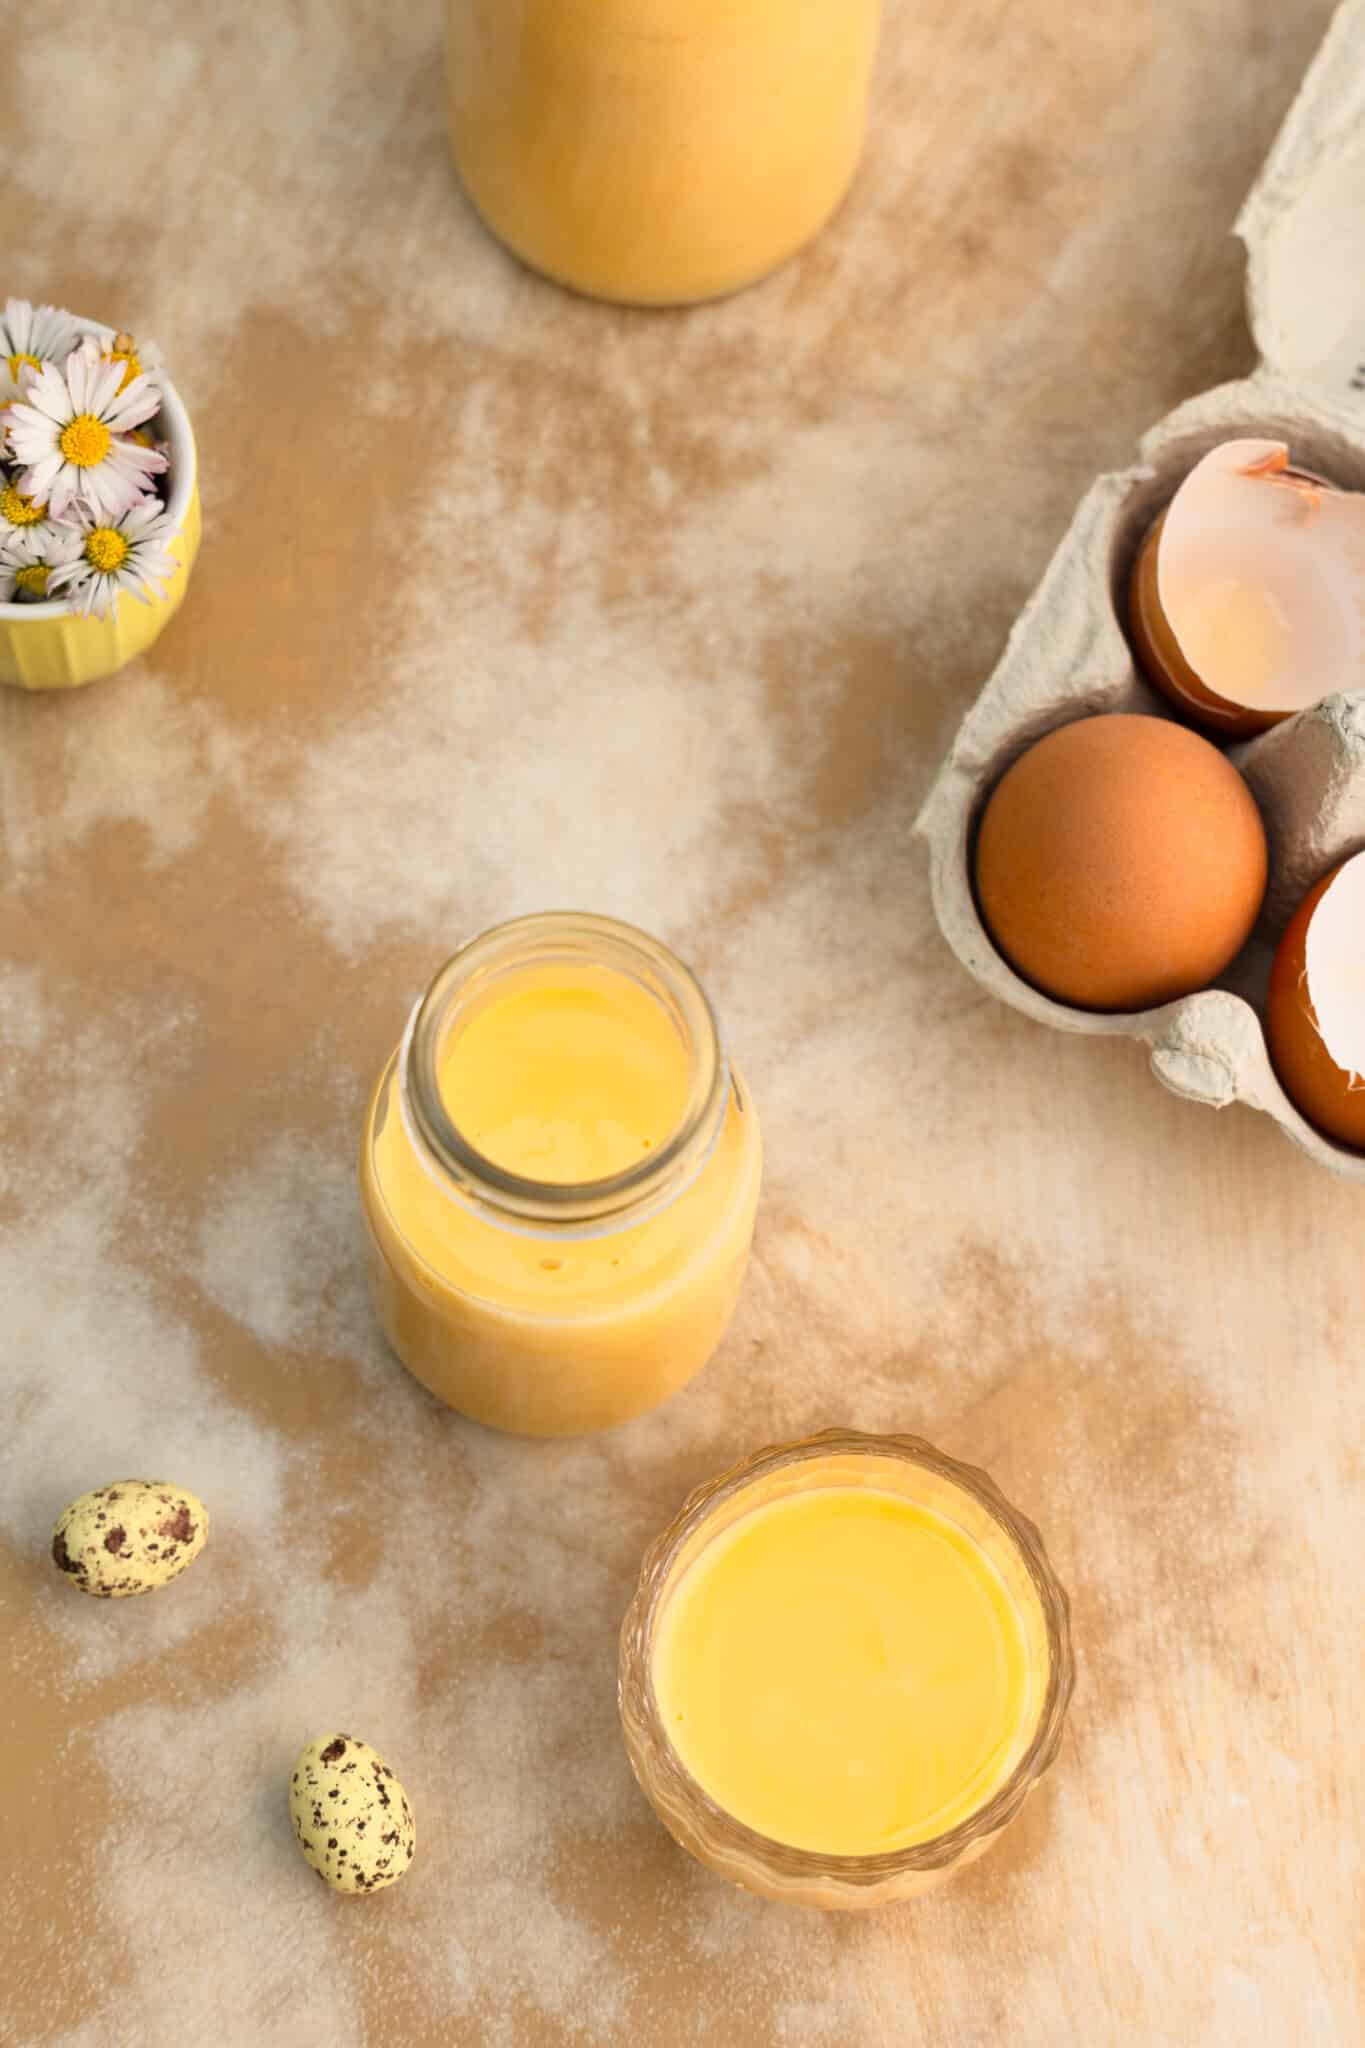
Egg yolks: The base of the recipe. Use organic, free-range eggs at room temperature. Freshness is crucial to minimize the risk of salmonella—ideally, the eggs should be no more than a week old.
Sugar: Not only sweetens the eggnog but also acts as a mild preservative and adds volume. You can substitute powdered sugar if desired.
Heavy cream: Makes the liqueur incredibly creamy and rich. Because of the fat content, it also gives a milder taste. You can substitute evaporated milk (10% fat) or regular milk, but the result will be thinner and will highlight the alcohol flavor more.
Alcohol: Determines the intensity of the flavor and helps preserve the eggnog. The best choice, in my opinion, is neutral vodka, but other options like grain alcohol (Doppelkorn) or white rum also work and add their own unique notes.
To refine your eggnog, try adding: Vanilla sugar, a pinch of cinnamon, ground tonka bean.
How to Make Eggnog in 2 Easy Steps
I’ve tested multiple preparation methods for you! You’ll find step-by-step instructions with photos at the bottom.
Preparation: First, separate the eggs. Save the egg whites for Pavlova, macarons, or freeze them for later use. In a mixing bowl, beat the egg yolks with the sugar until slightly frothy—this helps dissolve the sugar. Using a hand mixer works best.
Gentle Heating in a Double Boiler: A double boiler means placing the egg mixture, cream, and alcohol in a small bowl or saucepan that sits in a larger pot filled with hot water.
Make sure the bowl does not touch the water! 😉 Heat the ingredients while stirring constantly until the mixture thickens and becomes creamy. This usually takes a few minutes.
Quick Thermomix Version
The Thermomix method is incredibly easy and foolproof! The texture is especially amazing. Here’s how to make eggnog in a Thermomix: Place egg yolks, sugar, cream, and alcohol into the mixing bowl, Heat for 8 minutes at 70°C (158°F) on speed 4, done!
My Expert Tips
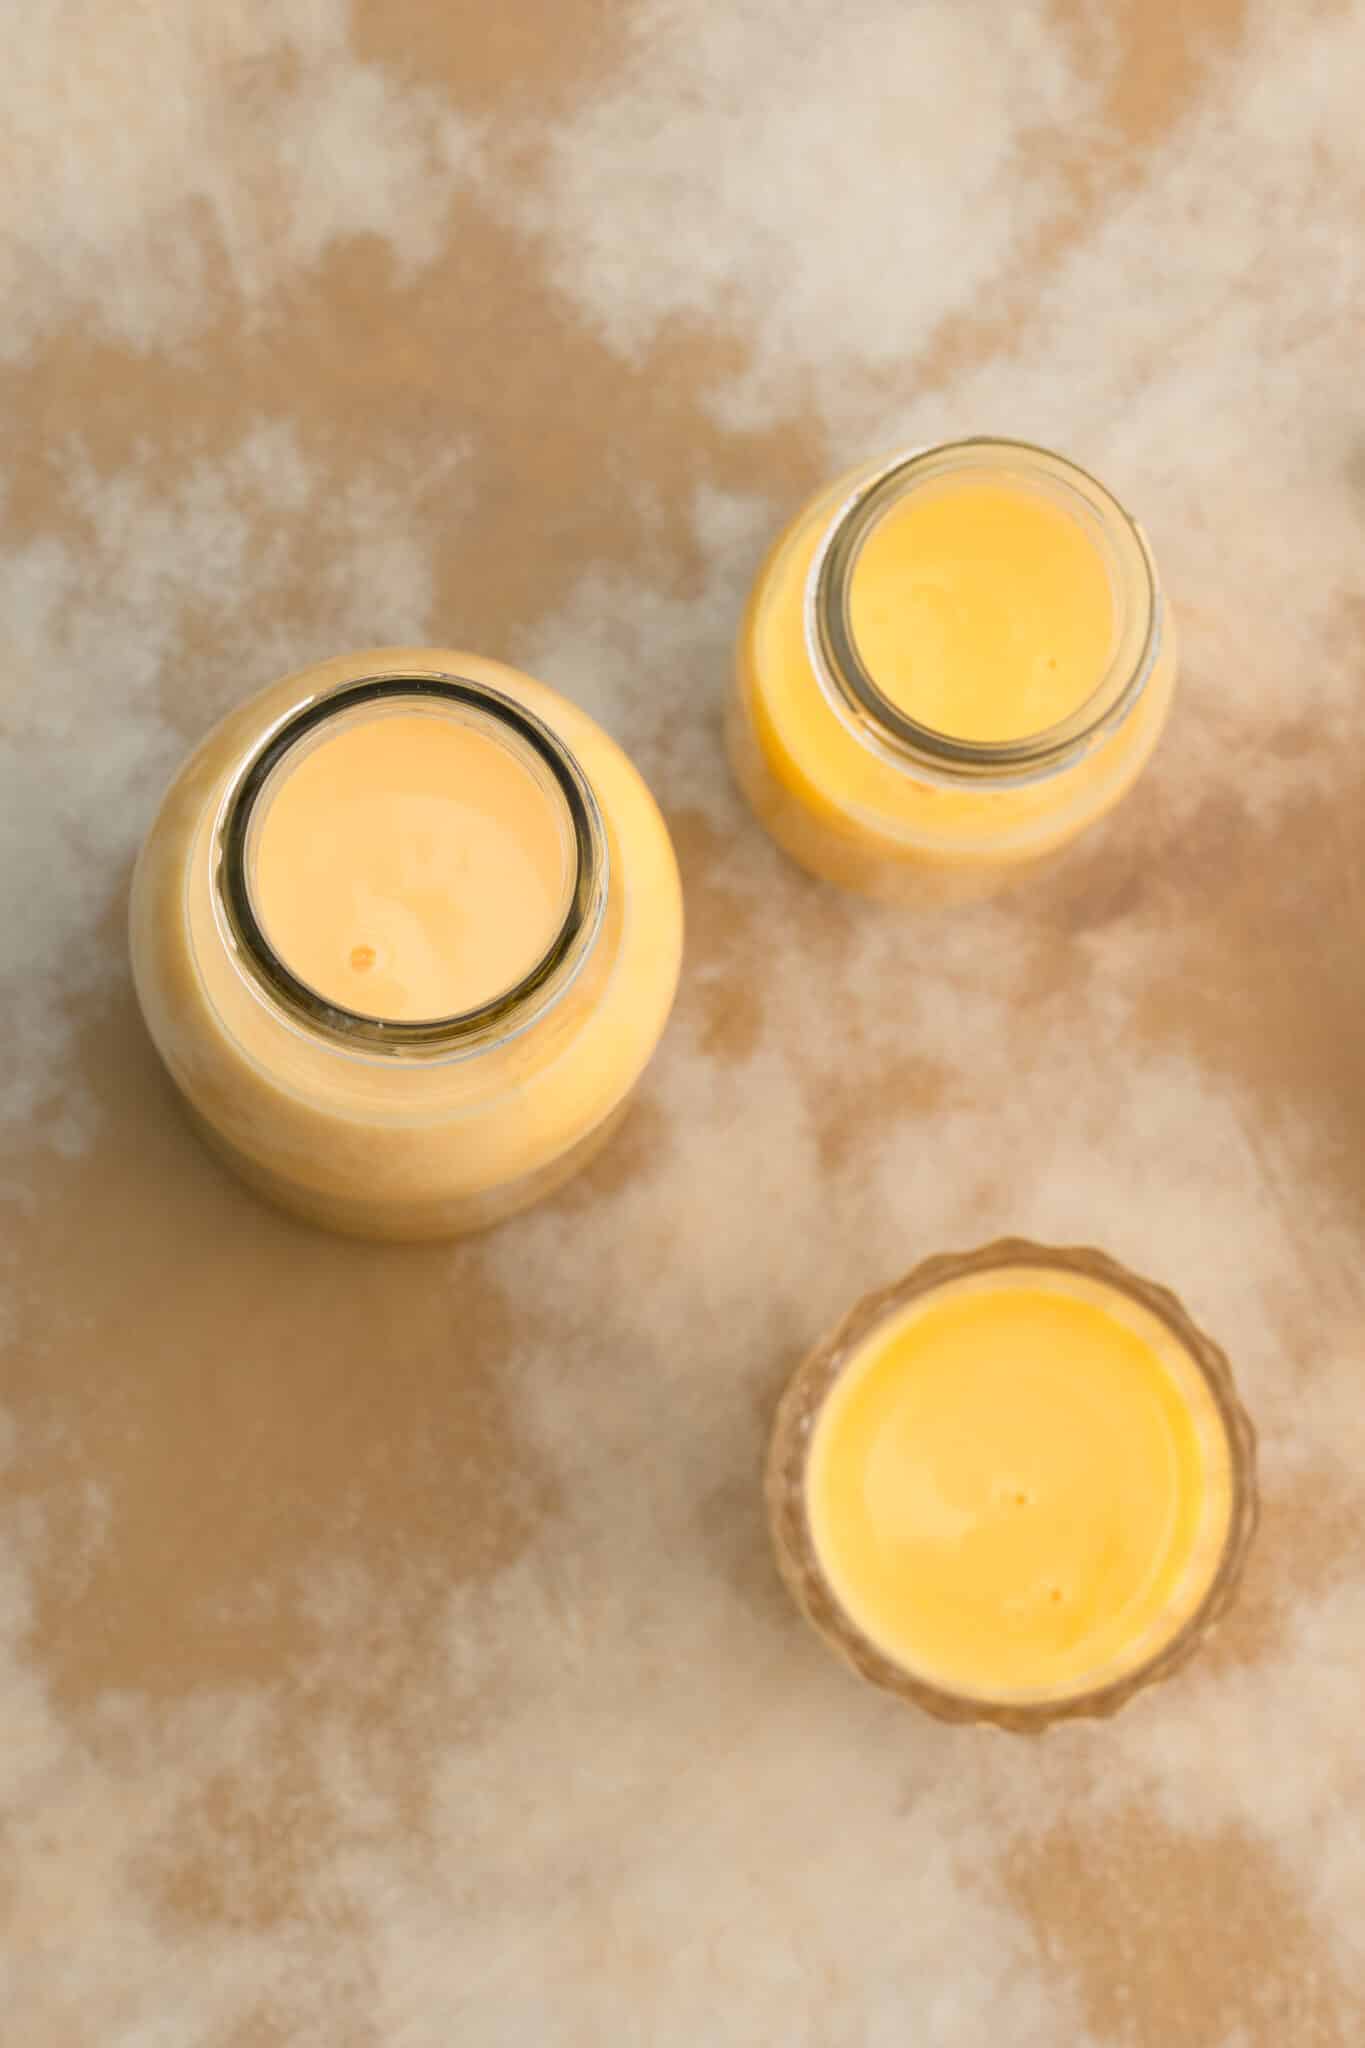
Adjusting the Consistency: The perfect texture is a matter of preference. The more liquid you use, the thinner the eggnog. My recipe strikes a balance between creamy and pourable. If you prefer thicker eggnog, use less cream or replace part of it with milk. Using Evaporated Milk? If so, reduce the amount to 330-350ml instead of 400g cream, since evaporated milk often contains thickeners.
How Long Does Homemade Eggnog Last?
A very valid question! Unlike a dessert like tiramisu, you probably won’t finish a whole liter of eggnog in a day. Unfortunately, there’s no exact expiration date because shelf life depends on ingredient quality and hygiene during preparation. However, if you properly heat the eggnog (instead of just mixing the ingredients cold), you can expect it to last 4-5 weeks. Gently heating the mixture reduces the risk of bacteria. Alcohol & sugar both act as natural preservatives. Always keep in the refrigerator. Just like store-bought versions, homemade eggnog can become thicker over time. If needed, simply stir in a little milk before serving.
And if you’re looking for delicious ways to use it, why not try my eggnog cake or eggnog waffles? 😊
Recipe Card
Homemade Eggnog Recipe
Ingredients
- 8 medium egg yolks, very fresh
- 220 g 1 cup sugar (or powdered sugar)
- 400 g 1 ⅔ cups heavy cream (or 330-350ml evaporated milk)
- 250 ml 1 cup vodka (or grain alcohol/white rum)
Instructions
- Separate the eggs. Save the whites for another recipe. Heat the mixture. Place egg yolks and sugar in a heatproof bowl or small saucepan.
- Beat over a double boiler until slightly frothy. The mixture should only be lukewarm.
- Add the cream and alcohol gradually, stirring continuously.
- Continue heating in the double boiler, stirring frequently, until the mixture thickens and forms small bubbles (about 5 minutes on level 7). Important: Do not let it boil! Otherwise, the eggs may curdle. Stir along the edges to prevent scrambled egg bits.
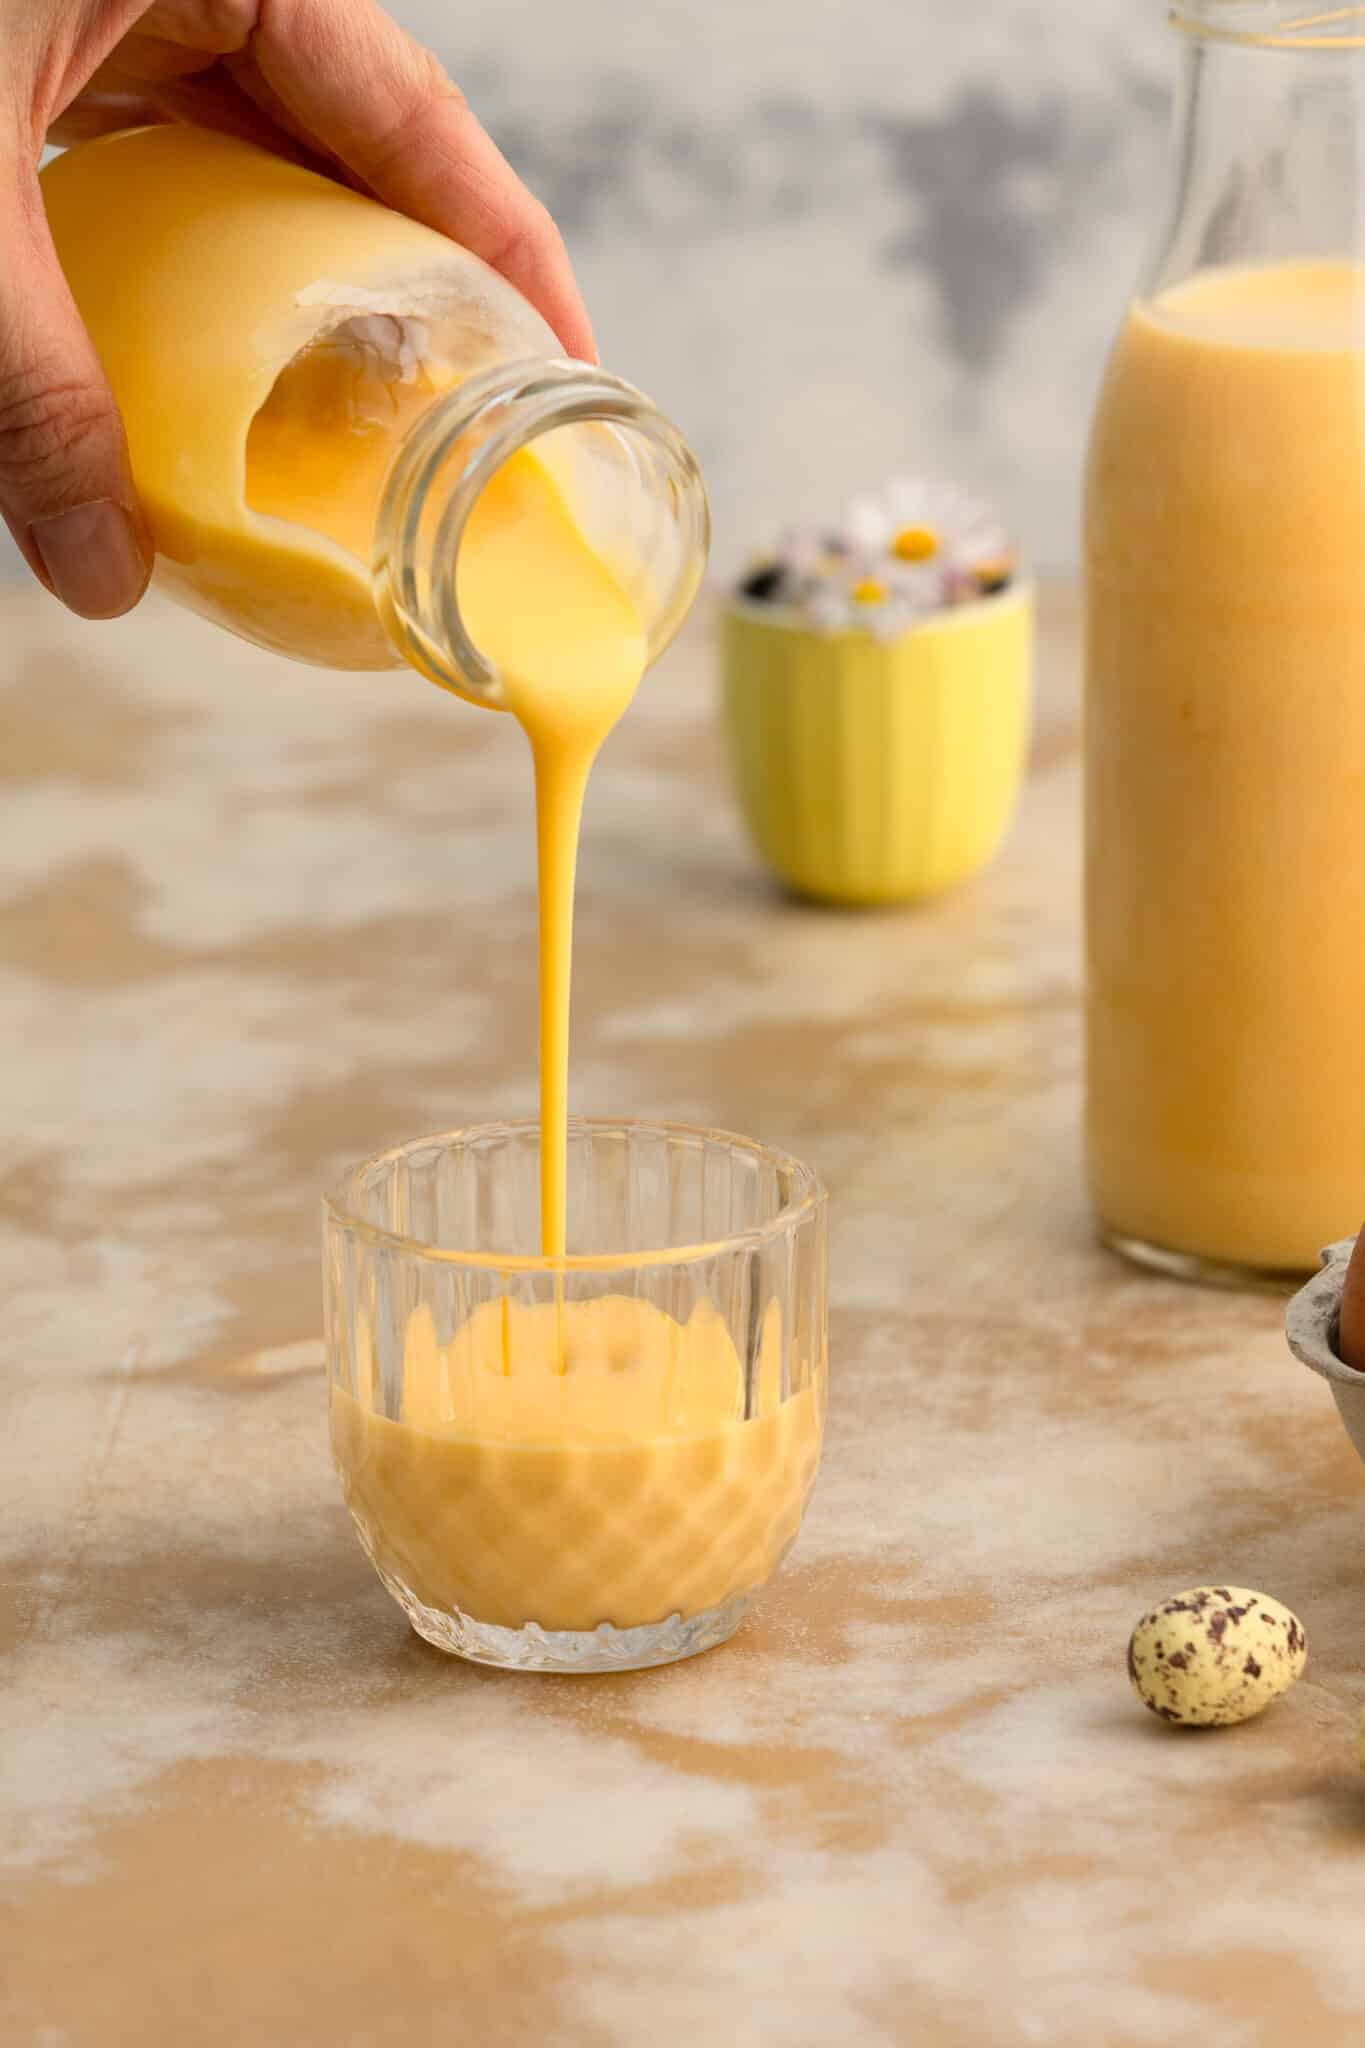
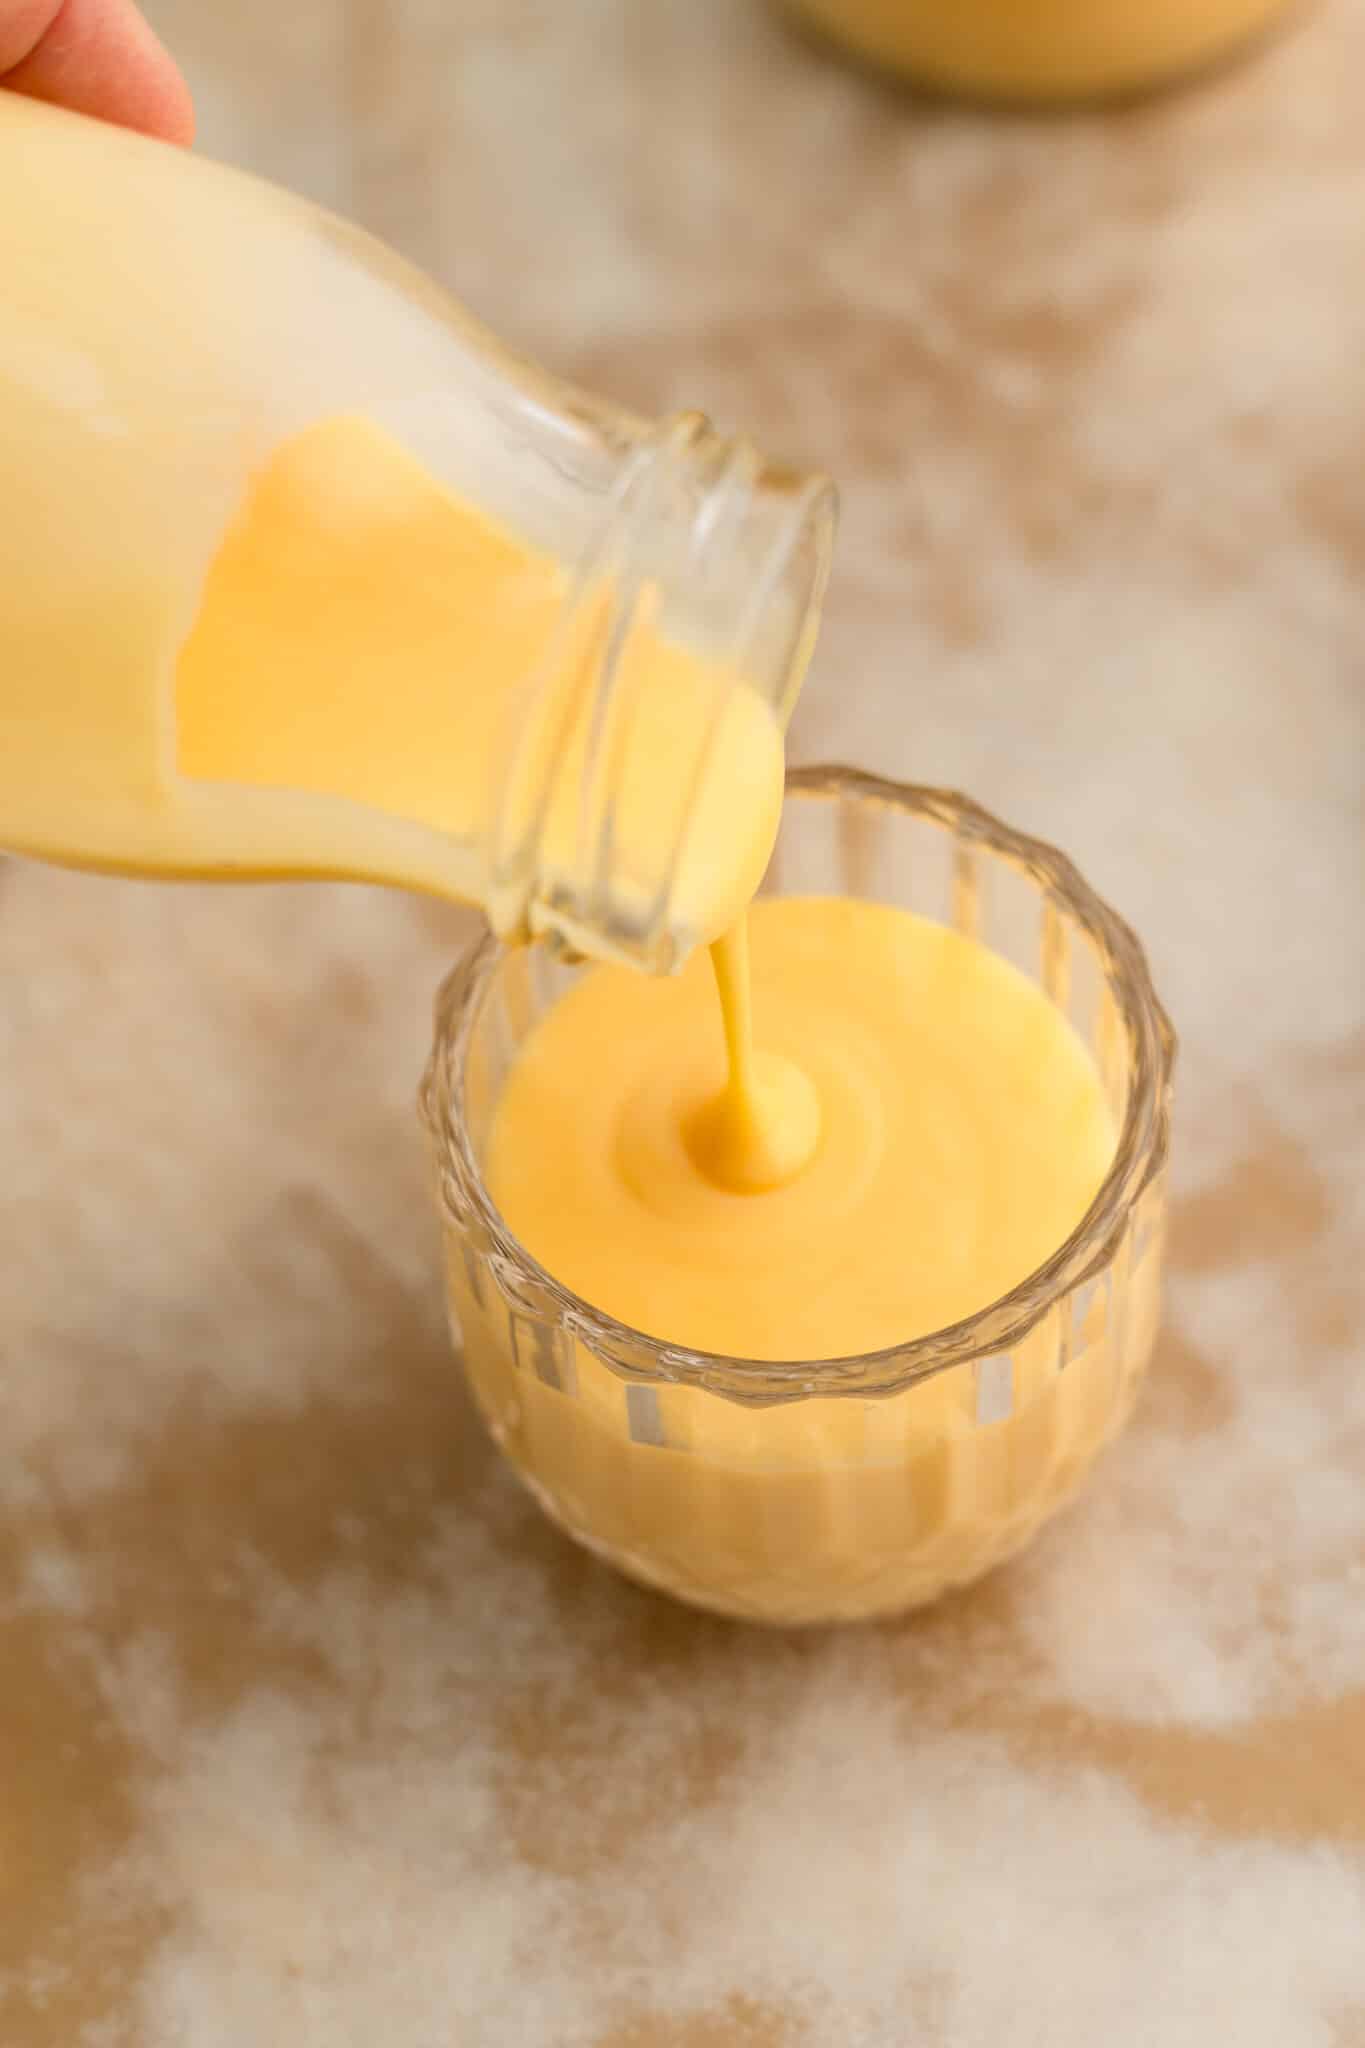
- Heat to approx. 65°C (149°F). If you have a kitchen thermometer, check the temperature. Pour warm eggnog into clean bottles or jars using a funnel. Leave some space at the top in case you need to add a little milk later. Seal and refrigerate.
Notes
- Thermomix version: Heat all ingredients at 70°C (158°F) for 8 minutes on speed 4.
- Quantity: Makes about 800-900ml eggnog, depending on egg size and reduction.
- Storage: Keep in the fridge; lasts 3-6 weeks.
- Shelf life: Safe due to alcohol, sugar, fresh eggs, and heat treatment.
Comments
No Comments